Hey guys! Congrats on reaching Tutorial 3
If this is your first time to visit, please click on the button to the right side of this page that says “Start you tutorials here!”.
It’s been a while since Tutorial #2, but I did it on purpose, so that you guys could practice (LOL, really… I’ve been very busy). But here’s another one, which will definitely be more exciting than the previous tutorial, because I’ll give you a whole Digiscrap Kit to play around with. You guys deserve a reward after all the grueling practice.
So below is the sample digiscrap with the Beach Theme:
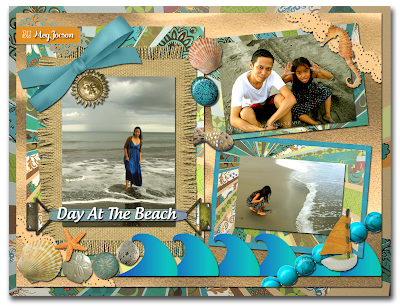 |
| Finished Digiscrap: Beach Theme |
And below are your elements. You may click on the pictures to see their original size, and then you can right click on the picture and choose Save As to download.
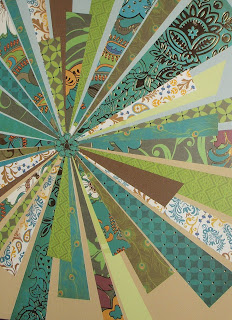 |
| Background 1 |
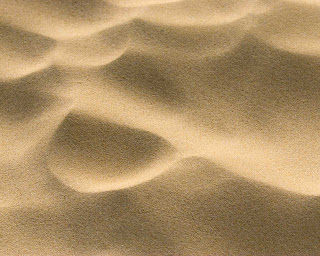 |
| Background 2 |
 |
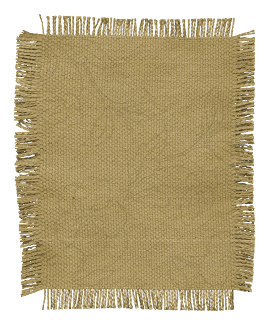
| Background 3 |
 |
| Background 4 |
 |
| Blue bough |
 |
| Blue Fastener |
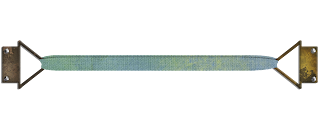
 |
| Blue ribbon silk |
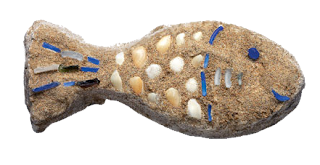 |
| Fish |
 |
| Ocean Wave |
 |
| Orange lace |
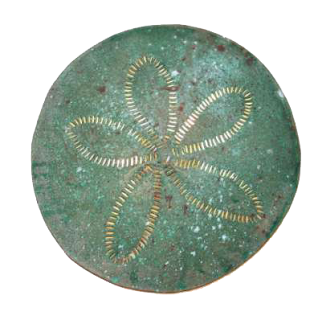 |
| Sand dollar blue |
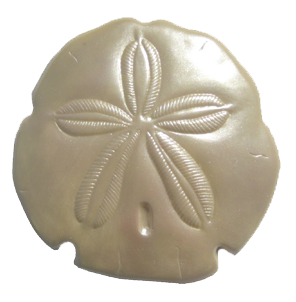 |
| Sand dollar frosted |
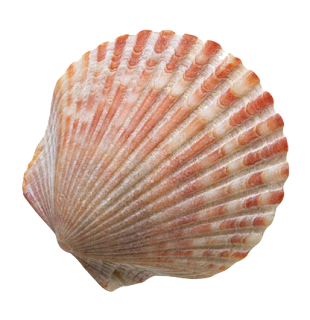 |
| Scallop Pink |
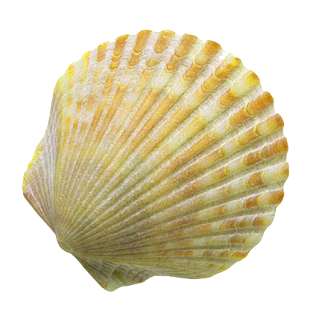 |
| Scallop Yellow |
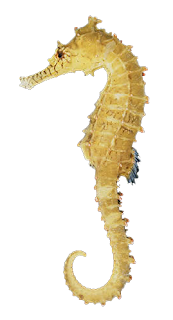 |
| Seahorse |
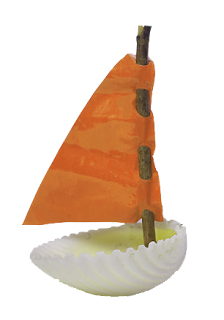 |
| Shell sailboat |
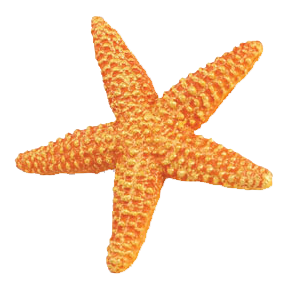 |
| Starfish |
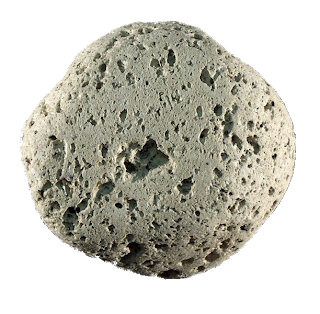 |
| Stone Pumice |
 |
| Sun Pendant |
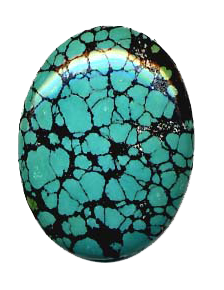 |
| Turquoise |
Now that you have the kit, and you guys already know how to convert files, the tutorial will be about how to put them together.
Let us start with making sure all the elements in the kit are downloaded. And make sure you also have three photos you want to put in the digiscrap. You may open all the images up in Photoshop, but it might be a little confusing at this stage. Once you are sure you have all the elements downloaded, it’s time to start:
- Open up Photoshop and then open a new document and make sure it has the dimensions as the screenshot below.
- My screen shot shows that I have opened up some of the elements, but you may start by opening Background 2 in Photoshop. Once Background 2 is open, hold down Ctrl+A and then use the Move Tool (refer to Tutorial 2 on how to use the Move Tool) to drag the image to the new document.
TIP: You may use Ctrl + (-) minus sign to make the document smaller and Ctrl + (+) plus sign to zoom document.
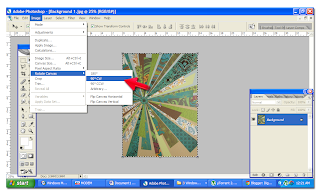
- Now that you have dragged Background 2. Make sure that it is at the center of the new document. Now let’s rotate the image to make sure it’s aligned to the document.
- Make sure that Background 2 is still under the Move Tool. You will see the little squares at the corners of Background 2 (see red arrow). Those little things are called Transform Controls. Click on one of the Transform Controls.
- Once you click on one of the Transform Controls, right click inside the image and select Rotate (see red arrow). And then type 90.00 on the Angle Field (see orange arrow.) That will rotate the image automatically to your desired angle.
- Make sure that Background 2 fits perfectly to the new document by using the Move Tool to adjust the size.
- Now you want to add SHADOW EFFECT, to make it look like Background 2 was pasted pn the new document. On the tabs click on Layer and then Layer Style and click on Drop Shadow.
- This window will then pop up. You may copy the settings in the screenshot below.
- Open Background 1 and then drag the image to the new document. Use the Transform Controls to adjust the size. And add the shadow effect. Refer to the Finished Digiscrap: Beach Theme to see the settings.
- Go back to Background 1 again and drag the image again to the new document. Use the transform Controls to adjust the size and rotate it to achieve the right angle. And add the shadow effect.
- And then open the Ocean Wave image and then use the Move Tool to drag the image into the new document. Adjust the size and then refer to the Finished Digiscrap: Beach Theme to see the settings.
- You’ll see that there are 6 ocean waves but we only have one. You may go back to the ocean wave image and drag another one into the new document. But you’ll have to adjust the size again, and you might worry about the accuracy of the size. Instead of doing it, you may click on the window to your lower right. If you followed the steps promptly, the ocean wave should be Layer 4. Right click on Layer 4 (see red arrow) and then choose Duplicate Layer (see next screenshot). It will automatically put another ocean wave on top of the first one. Use the Move Tool to move it the left.
- Next, open Background 3 and drag the image into the new document as well. Adjust the size and then add the shadow effect.
- Go back to Background 1 and drag another copy to the new document. Make sure it is on top of Background 3. Adjust the size and add shadow effect.
- And now add more ocean waves. Follow the steps in #13.
- All your images should have the shadow effect. Add the other elements as follows:
- Background 4
- Your 3 photos.
- Orange Lace (follow step #13 to make sure you have the orange lace on both sides of the document)
- Sun pendant
- Blue bough
- Blue silk ribbon to replace the blue beads in the finished document.
- Blue fastener
- Scallop Yellow
- Sand dollar frosted
- Sand dollar blue
- Stone pumice
- Starfish
- Scallop pink
- Turquoise
- Fish
- Seahorse
- Shell sailboat
- Add the text by clicking on the Text button (see red arrow). And click on top of the blue fastener where you want the text to appear. Choose your preferred font on the dropdown tool (see orange arrow). You will be restricted to the fonts in your computer. But you may download fonts from www.dafont.com .
- Adjust the font size by tweaking the numbers on the font size field or using the dropdown menu (see green arrow). And always choose Smooth as font setting (see blue arrow). Don’t forget the shadow effect.
- Now that your digiscrap is done, you may save it by clicking on File> Save As (see blue arrow). A pop up should appear.
- Save the document as PNG by clicking on the dropdown menu under format (see red arrow) and then choose PNG. And then hit Enter.
- Close what you have just saved. Close all the other graphics but keep Background 1 open in Photoshop.
- On Background 1, click on Image> Rotate Canvass and then choose 90 CW (see red arrow).
- Re-open the document you just saved. Hold down Ctrl+A and then drag the image into Background 1. Make sure that you adjust it so that it is smaller than Background 1. Add shadow effect.
- And then you may now save the finished document as JPEG by following the steps in #19 and #20, except you choose JPEG instead of PNG.
Voila! You’re finished. You may now upload your first digiscrap in facebook!
Let me know if you guys have any questions. Feel free to leave a comment. I have changed the settings so that anyone can leave a comment without having to sign up onto anything.
Please rate this tutorial if you find it interesting, fun, useful or difficult! (see buttons below)
Thanks guys!
A LOOK INTO WHAT'S NEXT: Now that you know how to put an entire digiscrap together, I'm going to give you guys a tutorial in basic photo editing. We're going to practice on some pictures and you'd be so amazed at how great a simple picture could be after some changes in Photoshop! That's what's next!


Thanks for rating guys! Happy Scrappin!
ReplyDelete